
如果实践过官方教程,或者看过上一篇Unity ECS实践,那么其实基本就可以开始编程了,但是这部分很容易找不到重点(主要是中文教程不够多),那其实只要讲完这里基本也就能明白如何着手下一步了
找到你需要的组件
我们已经知道了如何挂载Component到Entity上并且通过System访问与操作其中的数据,此时剩下的一个问题也就是例如我把一些官方的脚本比如RigidBody等这样的在原Unity中放在Prefab之后,我如何使用他们呢?毕竟本来方便的轮子也不可能全都扔了。
那么就以RigidBody为例子来简单讲下。
导入包体
在Package Manager里导入Unity Physics
挂载脚本
此处版本为Unity 6,Unity Physics版本为1.0.16,所以挂载脚本的方式可能和其他教程不同(没有ConverToEntity)
在Cube的Prefab上挂载RigidBody,这里还挂载了Collider,主要讲下这两者在ECS下的使用方法。
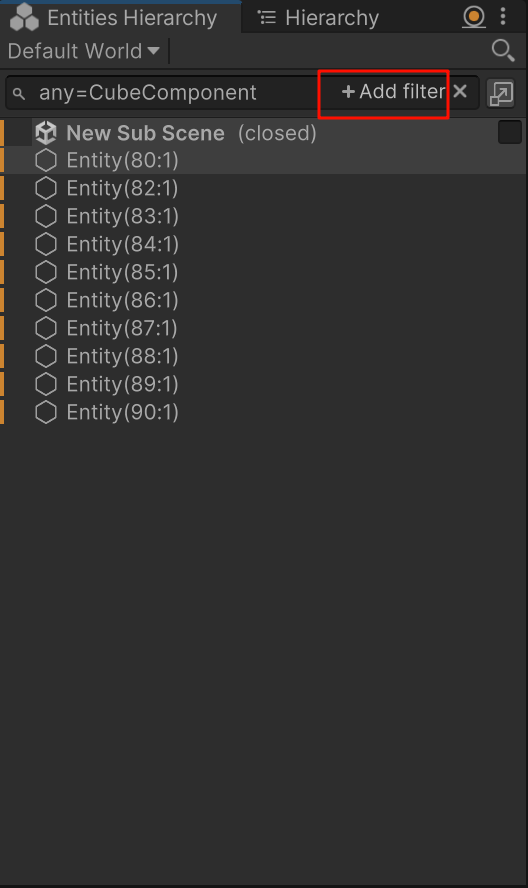
找到Component
运行游戏后,在对应的Entity中可以找到被转换的Component(注意Inspector右上角选择Running)
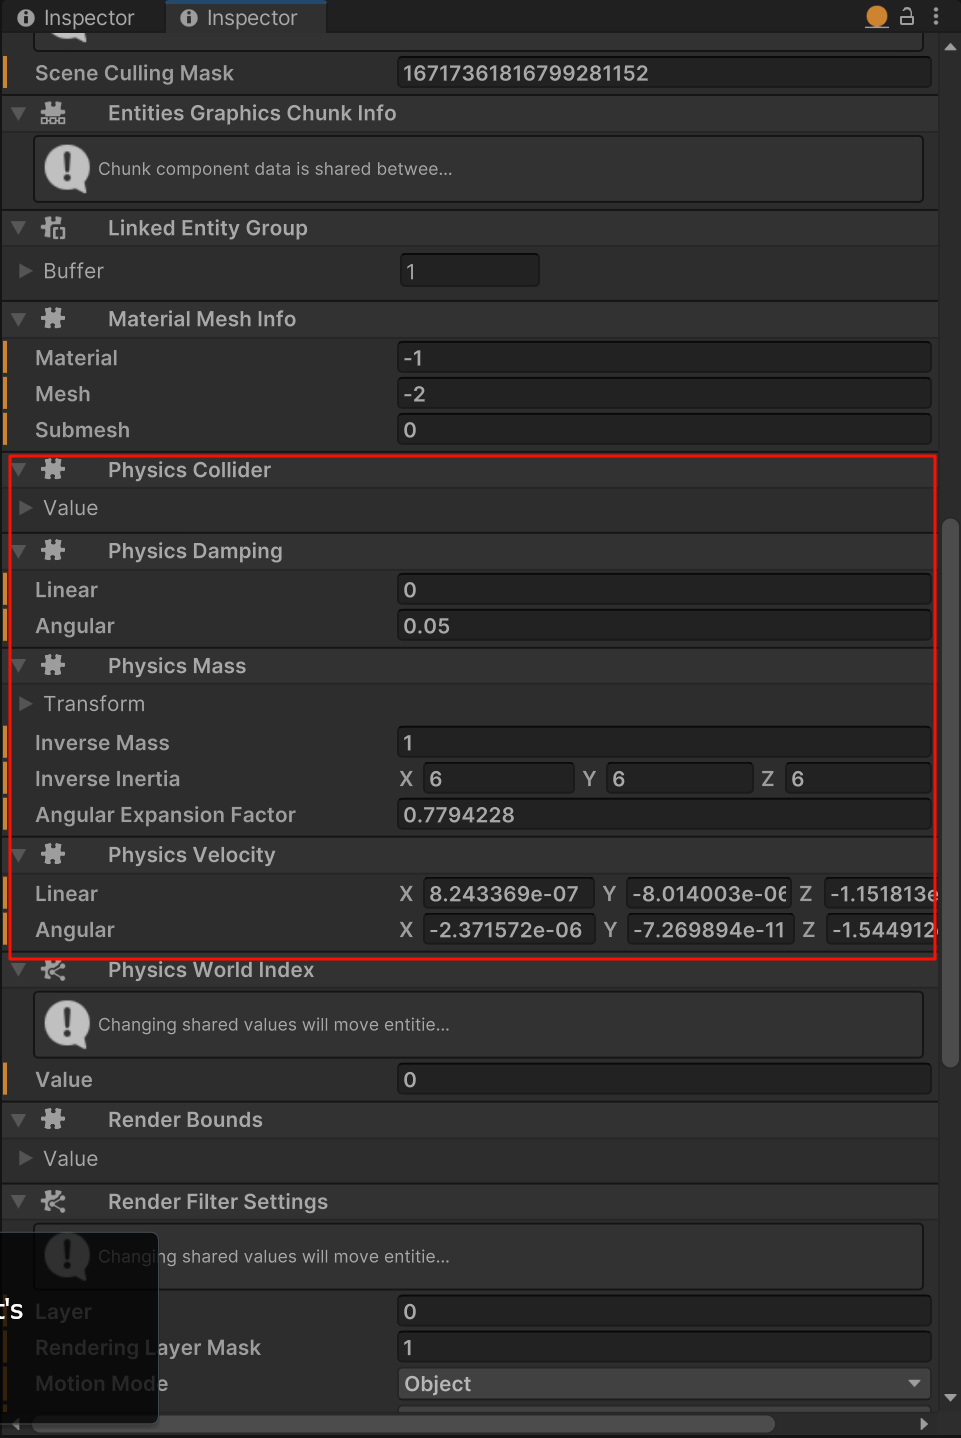
比如我们可以看到RigidBody运行后被拆分成了Physics Damping,Physics Mass, Physics Velocity这三个Component,例如我想知道此时停止运动的方块的数量,可以把CubeSystem的代码改写下(场景中放了个地板来接住生成的方块)
using Unity.Collections;
using Unity.Entities;
using Unity.Mathematics;
using Unity.Physics;
using Unity.Transforms;
using UnityEngine;

[UpdateInGroup(typeof(FixedStepSimulationSystemGroup))]
public partial struct CubeSystem: ISystem
{
    private int cubeStopCount;

    public void OnUpdate(ref SystemState state)
    {
        //state.EntityManager.CreateEntity();
        var entityManager = state.EntityManager;
        var entities = entityManager.GetAllEntities(Allocator.Temp);

        cubeStopCount = 0;
        foreach(var e in entities)
        {
            if (entityManager.HasComponent<CubeComponent>(e))
            {
                var cube = entityManager.GetComponentData<CubeComponent>(e);
                var localTransform = entityManager.GetComponentData<LocalTransform>(e);
                var velocity = entityManager.GetComponentData<PhysicsVelocity>(e);
                var moveDist = cube.moveDir * cube.moveSpd * SystemAPI.Time.DeltaTime;
                localTransform.Position += moveDist;
                entityManager.SetComponentData<LocalTransform>(e, localTransform);
                if (cube.moveSpd > 0) cube.moveSpd -= 2f * SystemAPI.Time.DeltaTime;
                else cube.moveSpd = 0;

                if (math.length(velocity.Linear) < 0.01f) cubeStopCount++;
                entityManager.SetComponentData<CubeComponent>(e, cube);
            }
        }
        Debug.Log($"cube Stop count: {cubeStopCount}");
    }
}部分原本的向量方法,现在被放入了Unity.Mathematics.math中,例如上面的math.length()是以前向量的magnitude的替代。
另外附上CubeSpawnSystem的改写,这里是改成了只生成10个方块,还有就是改成了向上弹出,对应的以前的normalize方法也改成了math.normalize()
using Unity.Burst;
using Unity.Collections;
using Unity.Entities;
using Unity.Mathematics;
[BurstCompile]
public partial struct CubeSpawnerSystem : ISystem
{
[BurstCompile]
public void OnUpdate(ref SystemState state)
{
if (!SystemAPI.TryGetSingletonEntity<CubeSpawnerComponent>(out Entity spawnerEntity))
{
return;
}
RefRW<CubeSpawnerComponent> spawner = SystemAPI.GetComponentRW<CubeSpawnerComponent>(spawnerEntity);
//state.EntityManager.CreateEntity();
EntityCommandBuffer ecb = new EntityCommandBuffer(Allocator.Temp);
if (spawner.ValueRO.nextSpawnTime < SystemAPI.Time.ElapsedTime && spawner.ValueRO.curSpawnCount < spawner.ValueRO.spawnCount)
{
Entity cubeEntity = ecb.Instantiate(spawner.ValueRO.prefab);
float2 randomDir = Random.CreateFromIndex((uint)(SystemAPI.Time.ElapsedTime / SystemAPI.Time.DeltaTime)).NextFloat2();
ecb.AddComponent(cubeEntity, new CubeComponent
{
moveDir = math.normalize(new float3(randomDir.x, 1, randomDir.y)),
moveSpd = 2f
});
spawner.ValueRW.nextSpawnTime = (float)SystemAPI.Time.ElapsedTime + spawner.ValueRO.spawnRate;
spawner.ValueRW.curSpawnCount++;
ecb.Playback(state.EntityManager);
}
}
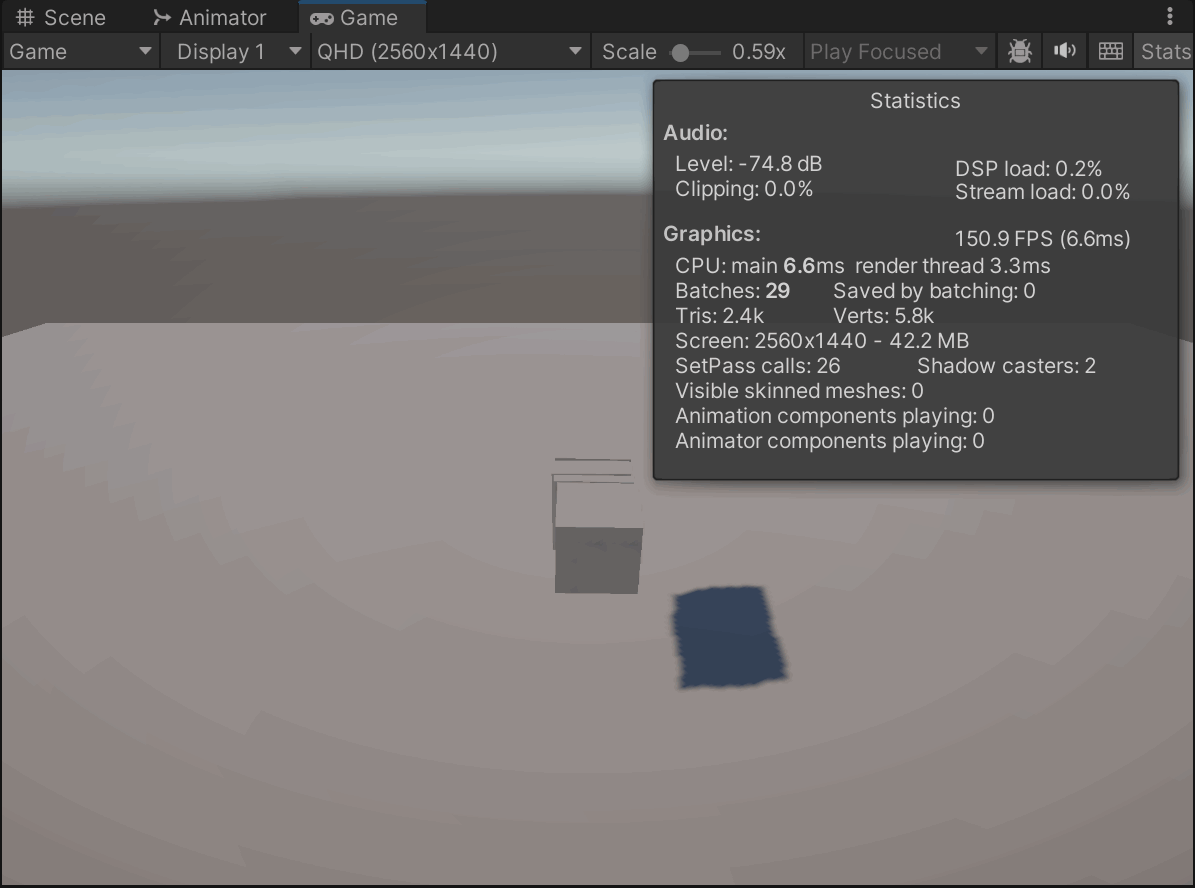
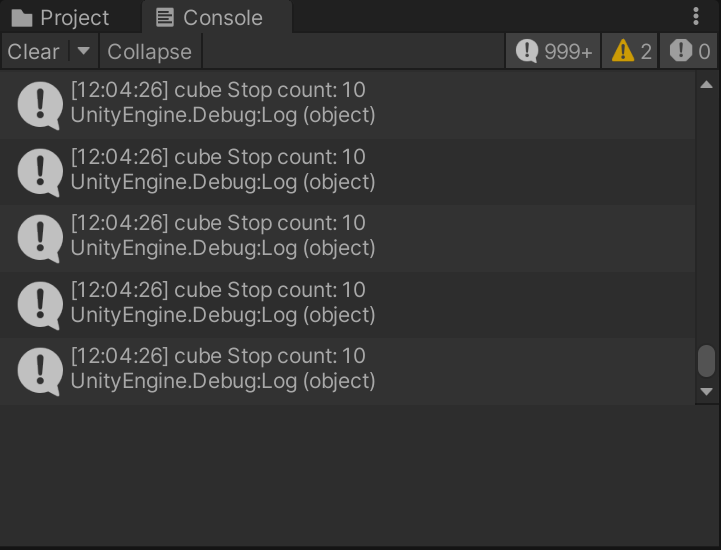
}运行效果如图所示,对应可以在控制台看到信息
碰撞
其实实现还是挺简单的,就不专门开多一章了。
CollisionLayer设置
跟传统碰撞一样,设置碰撞体的层级(场景右上角Layer),做个枚举类方便访问。我在subScene中设置了plane的层级
public enum CollisionLayer
{
    Default = 1 << 0,
    Cube = 1 << 6,
    Plane = 1 << 7,
}
设置碰撞检测
然后设置我们的entity的碰撞检测,需要将物体投射到PhysicsWorld来判断是否产生了碰撞。这里写在了CubeSystem的OnUpdate方法下
// 获取单例
var physicsWorld = SystemAPI.GetSingleton<PhysicsWorldSingleton>();
foreach(var e in entities)
{
    // ... 之前的代码
    var hits = new NativeList<ColliderCastHit>(Allocator.Temp);

    physicsWorld.BoxCastAll(localTransform.Position, localTransform.Rotation, new float3(0.5f, 0.5f, 0.5f), new float3(0, 0, 0), 0f, ref hits, new CollisionFilter
    {
        BelongsTo = (uint)CollisionLayer.Cube,       // 设置属于的层级
        CollidesWith = (uint)CollisionLayer.Plane    // 设置碰撞的层级
    });

    if (cube.hasHit == false && hits.Length > 0)
    {
        cube.hasHit = true;
        entityManager.SetComponentData<CubeComponent>(e, cube);
        Debug.Log("Cube collided");
    }
} 首先是获取到PhysicsWorld的单例,然后这里的话是用了BoxCastAll的一个方法,官方文档位置如下Struct PhysicsWorld | Unity Physics | 1.0.16
public bool BoxCastAll(float3 center, quaternion orientation, float3 halfExtents,
float3 direction, float maxDistance, ref NativeList<ColliderCastHit> outHits,
CollisionFilter filter, QueryInteraction queryInteraction = QueryInteraction.Default)-
halfExtents: 各个维度长度(长宽高)的一半
-
direction: 投射的方向
-
maxDistance: 投射的最远距离,从最远投射的立方体到本体的这个长方体都会触发碰撞
-
filter: 层级过滤
-
queryInteraction: 可以设置是否忽略Trigger,默认不忽略
hits代表了这段时间内n次检测到的碰撞的信息,此处我这里设置的hasHit是用来判断是否第一次碰撞的,相当于变相实现了之前的CollisionEnter这样的情况。
再去场景里实验一下,就可以看到方块接触地板时打印信息了(就不放图了)